Email Signature
How to create a basic signature for a 24pintech email.
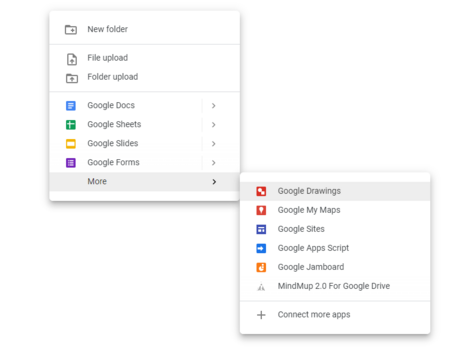
Start off by creating a new google drawing in your google drive.
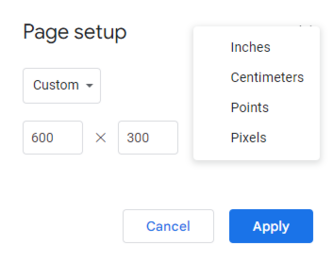
From here, modify the page setup and change it to 600 pixels long by 300 pixels tall and press apply.
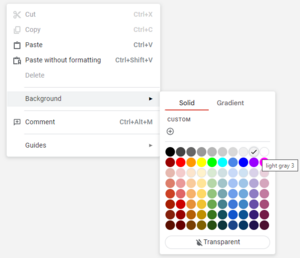
Now that the drawing is properly sized, change the background color to the lightest gray.
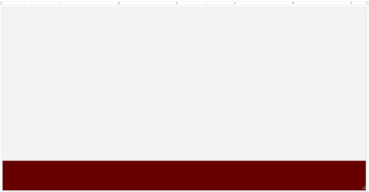
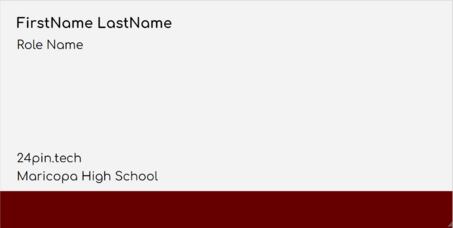
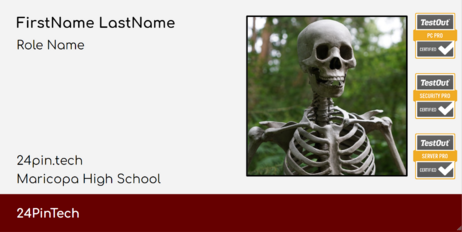
Create a red rectangle at the bottom of the drawing and make it cover the entire length and about 1/6 of the height or 50 pixels.
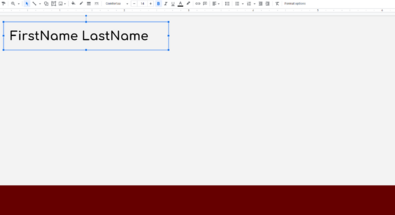
Next, insert a textbox on the top left side of the drawing. On the first line of the textbox, write your full name. Change the font to Comfortaa, size 14, and make the text bold.
Create another text box below this one and make the font Comfortaa and size 12. Write your role (such as system admin or web developer) and then create another textbox at the bottom containing the 24pintech website and school name.
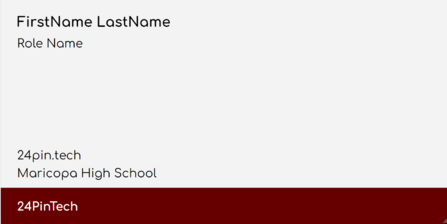
The last textbox will go at the bottom left on the red rectangle. Write 24PinTech, change the text color to white at the top and make the text bold.
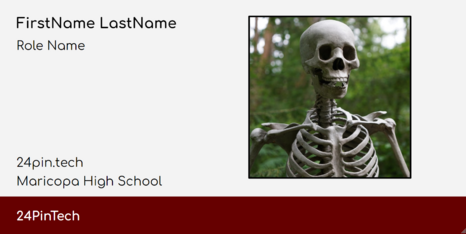
Insert a picture of your face and place it on the right side of the drawing.
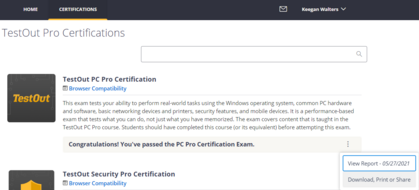
Now, put your testout certifcations on the drawing. You can find the icons by going to your certification and then pressing Download, Print Or Share
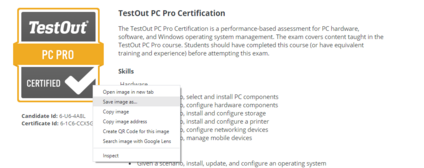
Right click on the icon and save it to your downloads folder.
Insert the images into the drawing and place them in a line on the right side of your face.
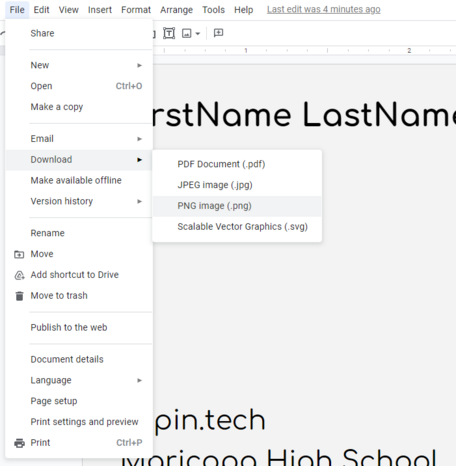
Now that you have finished, you can export the drawing as a PNG and use it in your email signature.
