IOLan Documentation
IOLan Console Server
(https://www.perle.com/products/iolan-scs-terminal-server.shtml) The IOLan Console Server allows for connections from Computers to Network devices while utilizing the device's console port. This means that instead of protecting a device from multiple attack vectors you can protect and connect to one device that will allow connections to its connected devices through an easy to use web interface. The specific Console Server being used by 24PinTech is an IOLAN model (one of the industry leaders).
Connecting and Using the Server
Initial Connection
- Download the 'iolan_easyconfig_v4.9.4.7.exe' file from the 'IOLAN' folder on \\logan
- Run the IOLAN easyconfig program
- Plug the IOLAN Device into both Power and the Network your system is on through either of the Ethernet ports
- Hit next and allow for the program to go over the firewall if prompted
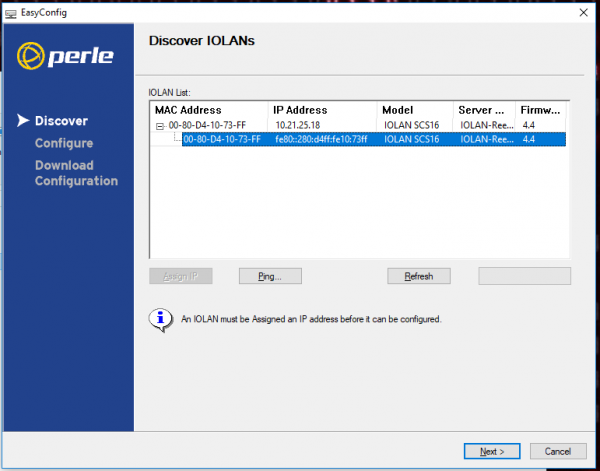
- It will then list out any available IOLAN devices
- Select the device that you wish to configure and hit next. (as pictured)
- Allow the 'Device Manager TFTP server' to run through the Firewall if prompted
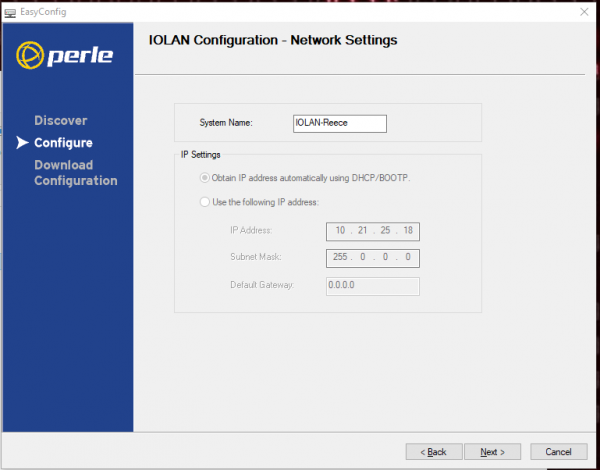
- Here you can Change the system name and IP settings (as pictured)
- Leave all of the settings ALONE and hit the download button
- Click Finish on the last page
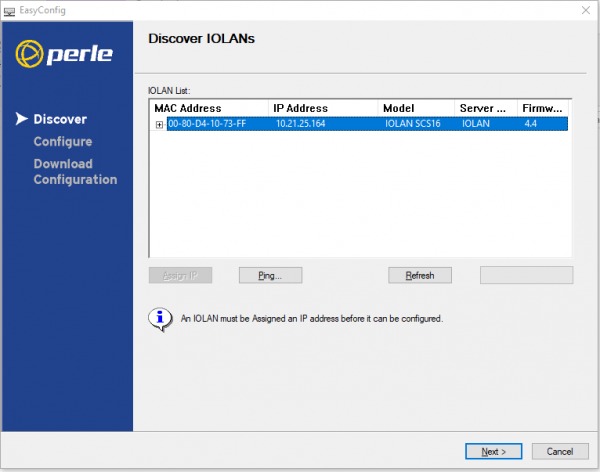
- Reopen the Program
- Hit next on the first page, The next page will have the IP Address of the Device Listed (as pictured)
- Connect to that IP address in your browser
- This will verify that the connection and initial configuration was successful.
Configuration
- Connect to the Device (you can look to find out how to do this in the above section 'Initial Connection)
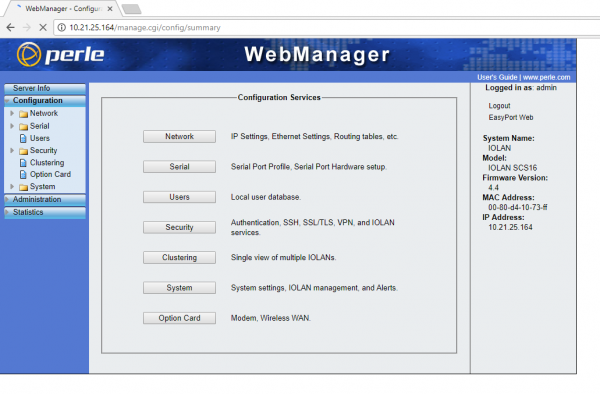
- After signing in, the Page pictured will pop up.
- From here you can select 'Serial' and change the protocols that each serial connection use, or go to 'Security' and change what protocols are running on the system to better protect it.
- By selecting Serial Ports from the Serial page you can change those protocols used for connecting to the devices connected to the IOLAN server.
- After you click 'Serial Ports' you can then choose the different protocols used by selecting one port and and hitting the Edit button.
- After hitting the Edit button you will be guided to the next section. In this the only thing that we will be changing for this tutorial is going from Telnet to SSH.
- You can do so by Pressing the SSH button Next to 'Protocols:', and hitting apply.
- In order for all of these ports to use ssh you must go back to the last page in which all ports are listed and select the one that you have just edited.
- Once selected hit the Copy button (it is next to the edit button) then select all then Ok.
- Once you have completed all configuration tasks you must hit the 'Reboot IOLAN' button in the bottom right in order to restart the Server and have those configurations take place.
Connecting for standard Use
In order to properly connect to the Server and the devices connected to it you have to use SSH (as it is currently configured 4/24/18)
Windows
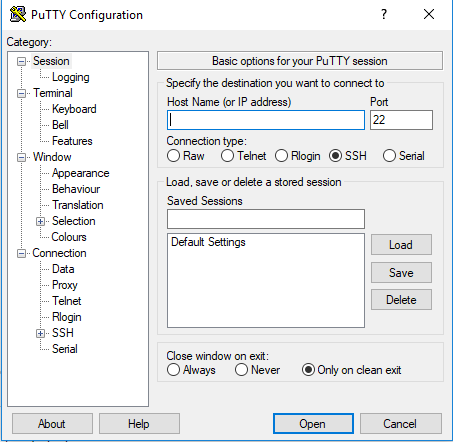
- First, open PuTTy
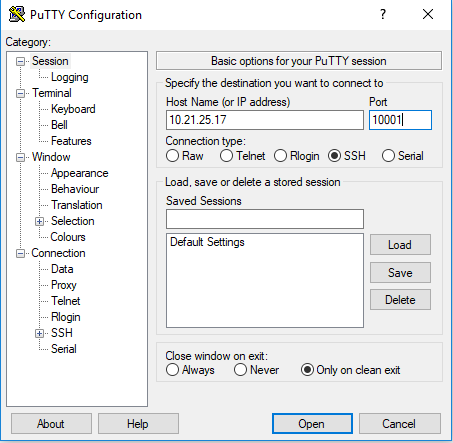
- Make sure that SSH is the selected option and type in the address of the Server you are trying to connect to. (For us it is 10.21.25.17)
- Then, in the 'Port' Section, you want to type in the number 1000 and then the port number you are trying to connect to.
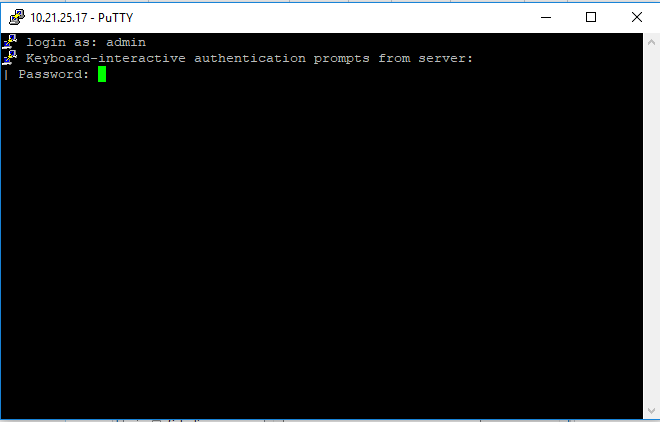
- After entering the proper information hit connect. This will then prompt you to enter a password. This is the password for the IOLAN server and will be the standard password used for equipment on our network.
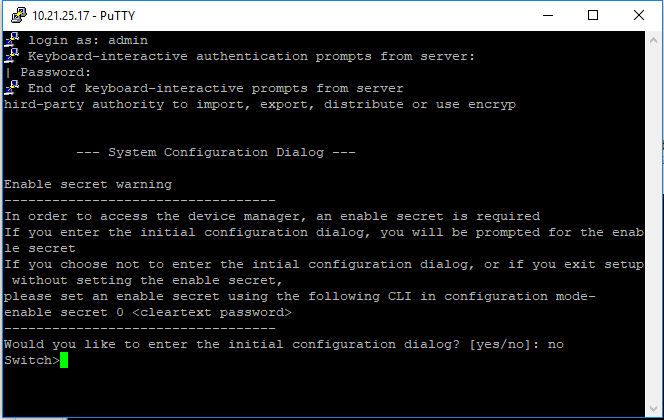
Then hit enter and you should be prompted as if you had a serial connection to the device.
Linux/Unix
- Open a terminal
- Make sure that ssh is installed on your machine by typing 'sudo ssh --version'
- If there are no errors then use the ssh command in the same context as the Windows Explanation
- Which is that you type 'sudo ssh admin@IP_OF_IOLAN_SERVER -p PORT_#_OF_DEVICE
- For example if you were connecting to port 1 of an IOLAN Server on IP 10.21.25.17 the command would be 'sudo ssh [email protected] -p 10001
- After a successful connection you will be prompted to use a password. The password is the password for logging into the IOLAN Server so it will be the standard password use for equipment on our network.
Connecting to Network Devices
In order to successfully connect to the Network Devices you need to use a rollover type Ethernet cable.
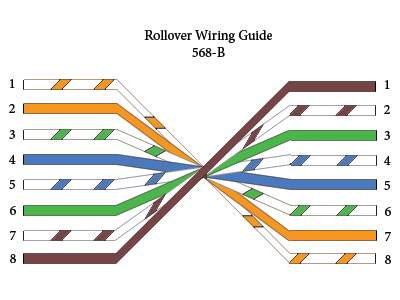
However, In order to get a connection from the computer to server then you need to use a standard Ethernet cable connected to the network that the target system is on. The server can however be connected to more than one network as it has two Ethernet connections. Which allows for more than one network to connect to the server.
Accessing the Network Devices through the IOLan
There are 2 methods to access the network devices connected to the IOLan Console Server.
Web Browser
- In a web browser, type the IP address of the console server (10.21.25.17).
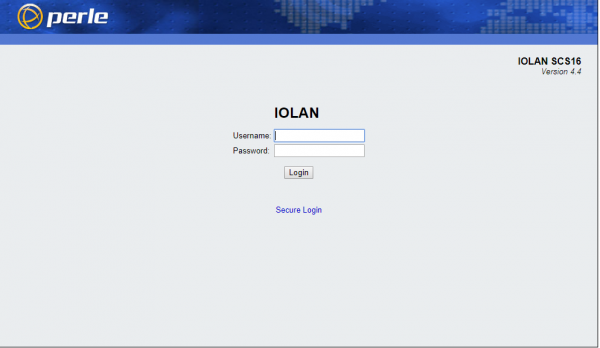
- You will arrive to the IOLan Web Manager Login page.
- Enter the following credentials:
Username: admin
Password: superuser
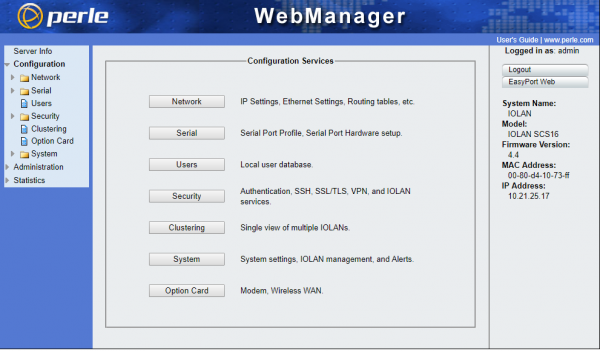
- You will then see the Web Manager Configuration window. To access the ports on the console server, you must click the "Easy Port Web" button displayed in the right pane.
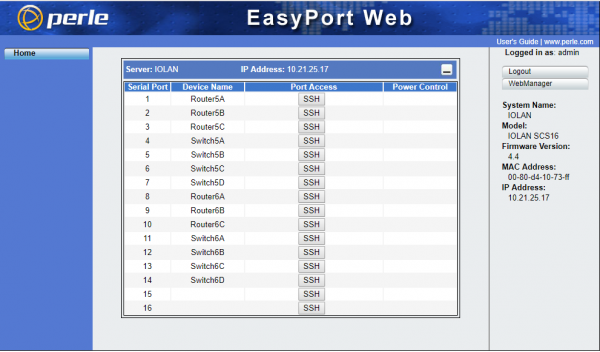
- In the EasyPort Web, Serial Port numbers, Device names, and Port Access methods are displayed. All ports should have SSH as the access method.
- To access a device, click the "SSH" button next to the device you wish to access.
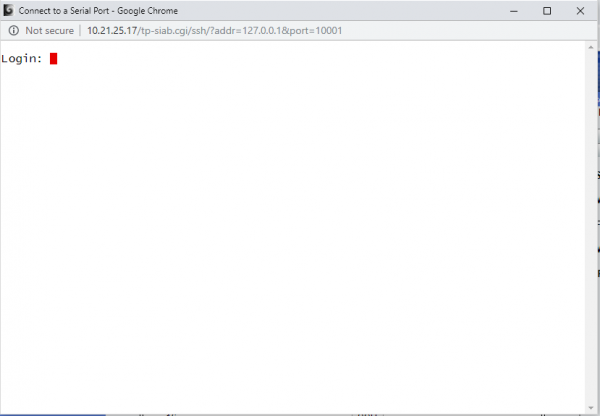
- A white window will appear prompting you to enter your credentials. Use the username and password listed under the Web Manager Login page.
- After you have entered your credentials, you may begin configuring the selected network device.
PuTTY
- Open the PuTTY utility to begin.
- Type in the IP address of the IOLan console server (10.21.25.17) in the host field and insert the destination port number after 10000 (i.e. port 1 will be 10001).
- A warning message will appear and click "yes" in order to allow the connection.
- You will then enter the same credentials to access the Web Terminal of the IOLan. Username: admin Password: superuser
- After the password has been entered, click Enter once or twice to get to the Switch> or Router> text to begin configuration.
