Difference between revisions of "Spiceworks Installation (Retired)"
Jump to navigation
Jump to search
| Line 12: | Line 12: | ||
#Allow for Spice works to start up (this will begin the webserver and launch spiceworks immediately after installing) | #Allow for Spice works to start up (this will begin the webserver and launch spiceworks immediately after installing) | ||
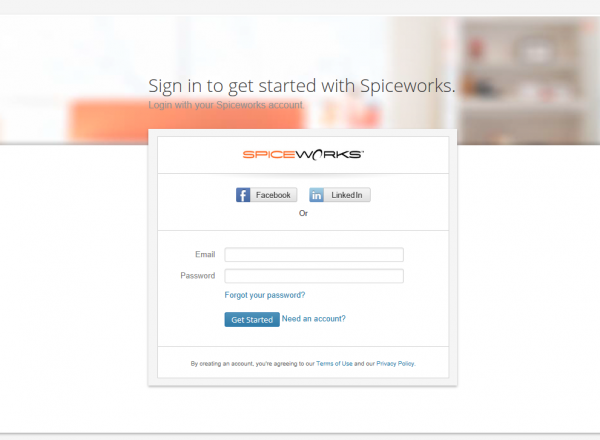
#When it finishes 'heating up' it will land to the page pictured, put in a strong password and current Email address then hit 'Get Started' | #When it finishes 'heating up' it will land to the page pictured, put in a strong password and current Email address then hit 'Get Started' | ||
[[File:SPICE1.PNG|600px|text]] | |||
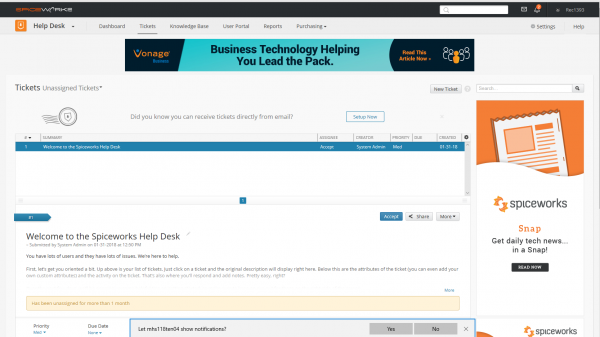
#Once logged in it will bring you to this page, From here there is an unassigned ticket that will explain some of the basics of using Spiceworks. However, for the current Procedure, hit the settings button in the top right. | #Once logged in it will bring you to this page, From here there is an unassigned ticket that will explain some of the basics of using Spiceworks. However, for the current Procedure, hit the settings button in the top right. | ||
[[File:SPICE2.PNG|600px|text]] | |||
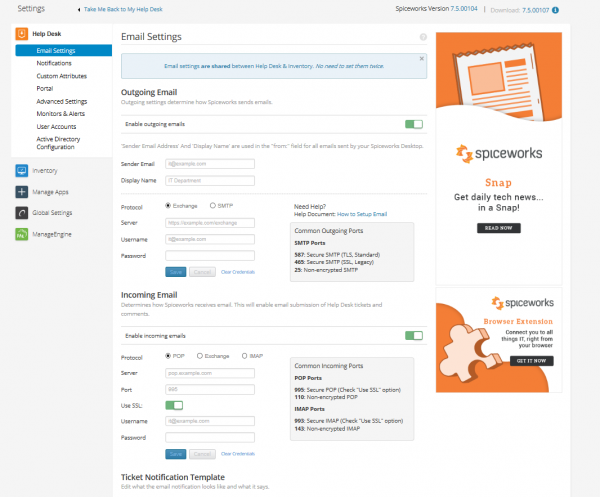
#After hitting settings you will be brought to the Email settings page (as pictured). Here you plug in the information pertaining to the current Email addresses that will be used for outgoing or incoming. | #After hitting settings you will be brought to the Email settings page (as pictured). Here you plug in the information pertaining to the current Email addresses that will be used for outgoing or incoming. | ||
[[File:SPICE3.PNG|600px|text]] | |||
#On this Settings page you are also able to utilize Active Directory, Alerts, and the Portal. Each setting is extremely easy to work with. | #On this Settings page you are also able to utilize Active Directory, Alerts, and the Portal. Each setting is extremely easy to work with. | ||
Revision as of 18:25, 21 March 2018
Procedures
Installation Procedure
- Download or access the Spiceworks.exe file from \\logan\Spiceworks\
- Run the Application with Administrator Rights
- Leave the Webserver port number as default (80)
- Check "Also install NMap and WinPCap"
- Select a folder with at least 176.3 MB available
- Allow the program to install Spiceworks
- Click continue and check the boxes for 'Install desktop shortcut' and 'Start Spiceworks now'
Configuration Procedure
- Allow for Spice works to start up (this will begin the webserver and launch spiceworks immediately after installing)
- When it finishes 'heating up' it will land to the page pictured, put in a strong password and current Email address then hit 'Get Started'
- Once logged in it will bring you to this page, From here there is an unassigned ticket that will explain some of the basics of using Spiceworks. However, for the current Procedure, hit the settings button in the top right.
- After hitting settings you will be brought to the Email settings page (as pictured). Here you plug in the information pertaining to the current Email addresses that will be used for outgoing or incoming.
- On this Settings page you are also able to utilize Active Directory, Alerts, and the Portal. Each setting is extremely easy to work with.


